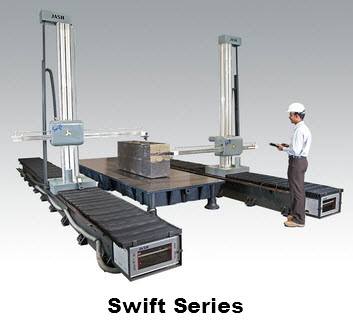
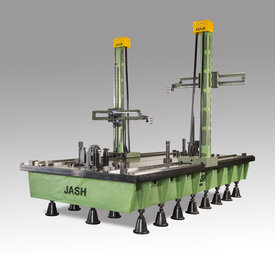
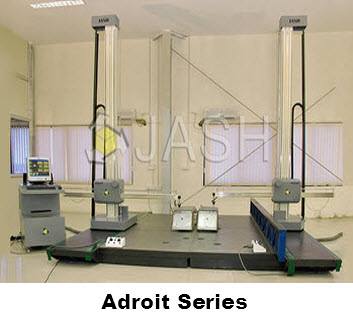
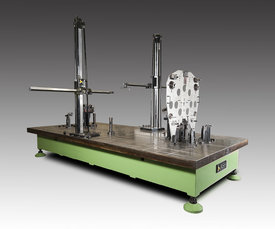
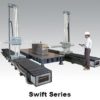
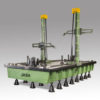
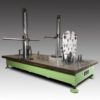
Layout Marking & Measuring Machine – Overview
Salient Features Application:
- Marking and Measurement of Sheet Metal Components,Car Body, Dies and Fixtures etc.
- Reverse engineering, Digitizing & Inspection of large and heavy components.
- Styling and Milling Application.
- Clay models making, measuring of graphic data.
- Measurement of master-models, wooden or metallic moulds.
- Measurement of all other three-dimensional objects.
Software:
Standard 3D Geometric Inspection with DMIS Module
Optional Modules :
- Scanning/Digitizing for Reverse Engineering
- Profile Analysis
- Surface Inspection
- 3D Bent Tube Inspection & Analysis
- CAD/CAM Connectivity
Upgradable from Manual/ DRO to full CNC
Accessories for Marking:
- Universal Scribing head
- Short end & long end Scribers
- Split Scriber
- Half round/ Quarter round rotating scriber
- Circular & Angle Scribing attachment
Accuracy :
- For Measuring Machines: 30 + ‘L’/30 micron ( Standard ).
- For Marking Machines: 300+ ‘L’/25 micron ( Standard) ( Where ‘L’ is measured in Length in mm ).
- Better accuracy on requests.
Standard Sizes of Layout Marking & Measuring Machine
Measuring Range :
| Axis | Range |
|---|---|
| X | 1000-20000 mm. |
| Y | 500-1600 mm ( Single ), 1600-3000 mm ( Twin ). |
| Z | 500-3500 mm. |
Accuracy :
- For Measuring Machines: 30 + ‘L’/30 micron ( Standard ).
- For Marking Machines: 300+ ‘L’/25 micron ( Standard) ( Where ‘L’ is measured in Length in mm ).
- Better accuracy on requests.
